Crispy Baked Chicken Thighs
This post may contain affiliate links. See our discloure policy.
Enjoy a delightful twist on classic crispy baked chicken thighs with this flavorful and crispy recipe! Using a clever combination of baking soda and an array of spices, these crispy baked chicken thighs are a mouthwatering dinner.
The baking soda helps achieve an irresistibly crispy skin, while the medley of spices adds depth and richness to every bite. Perfect for a simple weeknight meal or a gathering with friends, this recipe promises juicy, tender chicken with a satisfyingly crunchy exterior.

We love chicken dinners at my house, and there are so many great ways to cook it! Some of my easiest chicken recipes for busy weeknights include Sheet Pan Chicken Teriyaki, Air Fryer Buffalo Chicken Wings, and these tender, sweet, Honey Garlic Chicken Bites you can serve with rice and crispy beans.
Why You’ll Love This Baked Chicken Thighs Recipe
Crispy Baked Perfection: These chicken thighs come out of the oven golden and crispy, sealing in all the flavor, with that perfect crusty outside and juicy inside.
Easy Prep: With just a few simple ingredients, you can whip up this dish in just a couple of minutes and get it in the oven with just about no effort at all.
Simple but Tasty Seasoning: The paprika, garlic powder, and seasoned salt combo has that simple but really delicious taste that makes this a comfort food your family will ask for time and time again.
What Cut of Chicken is Best for Baking?
When it comes to baking chicken, certain cuts work better than others. I generally find that bone-in chicken works best for baking as it tends to stay more moist, but boneless cuts can be baked as well. Here are a few options that tend to work well for baking:
- Chicken Thighs: Bone-in, skin-on chicken thighs are fantastic for baking. They’re flavorful, juicy, and the skin crisps up beautifully in the oven.
- Chicken Breasts: Boneless, skinless chicken breasts are leaner and cook relatively quickly. However, they can easily dry out if overcooked, so if you bake them, you have to watch them closely so they don’t dry out. I find chicken breasts that have a breading or have been marinating can stay juicier in the oven.
- Chicken Drumsticks: These are another great option for baking. They’re juicy and have plenty of meat on them, plus the skin crisps up nicely.
- Whole Chicken: Baking a whole chicken can be a really nice option if you’re feeding a group. It takes longer to cook but always yields plenty of juicy, flavorful meat. The hardest part is making sure the chicken is fully cooked before removing it, and an instant read meat thermometer can help with that.
The best cut for baking ultimately depends on personal preference and the specific recipe. As a rule, remember that thighs and drumsticks usually remain moist and flavorful (even if you bake them a little too long) due to their higher fat content, while breasts can be a healthier, leaner option if you cook them carefully so they don’t dry out.
Ingredients
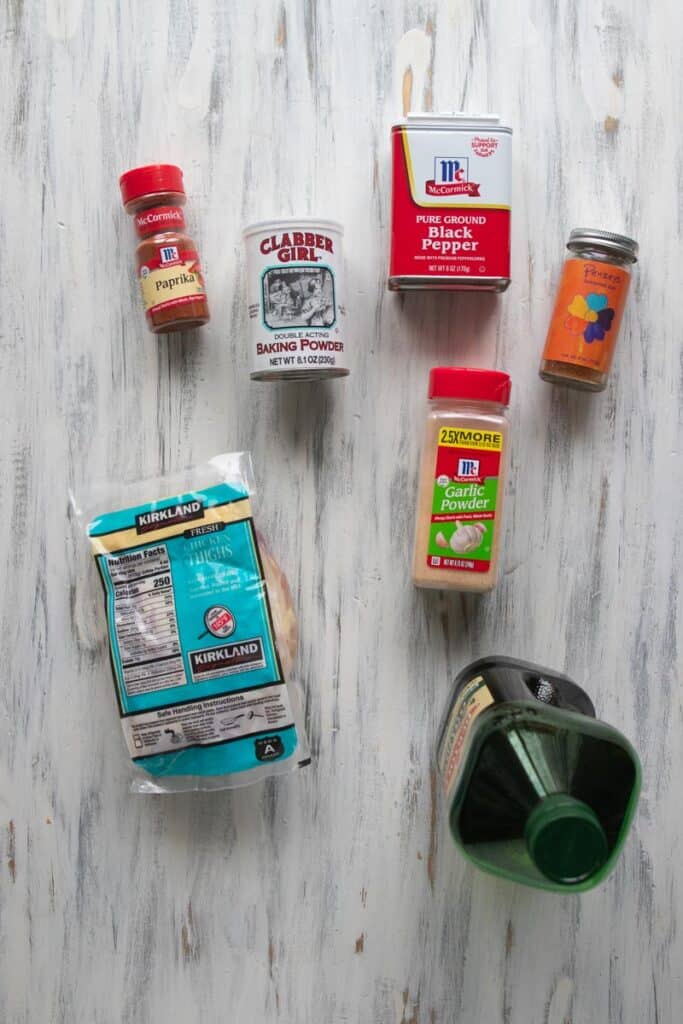
- Bone-in chicken thighs – Look for fresh thighs that are well-covered in chicken skin and have no off-putting smell or discoloration.
- Olive oil – Any oil will do, but an oil with a pleasant flavor will work better than a basic vegetable oil. Try avocado, grapeseed, or even coconut oil for a bit of a sweeter flavor.
- Paprika, garlic powder, seasoned salt, and black pepper – These seasonings blend to make a simple but flavorful spice rub for your chicken.
- Baking powder – This is really the secret ingredient that helps the skin bake up nice and crispy!
How to Make
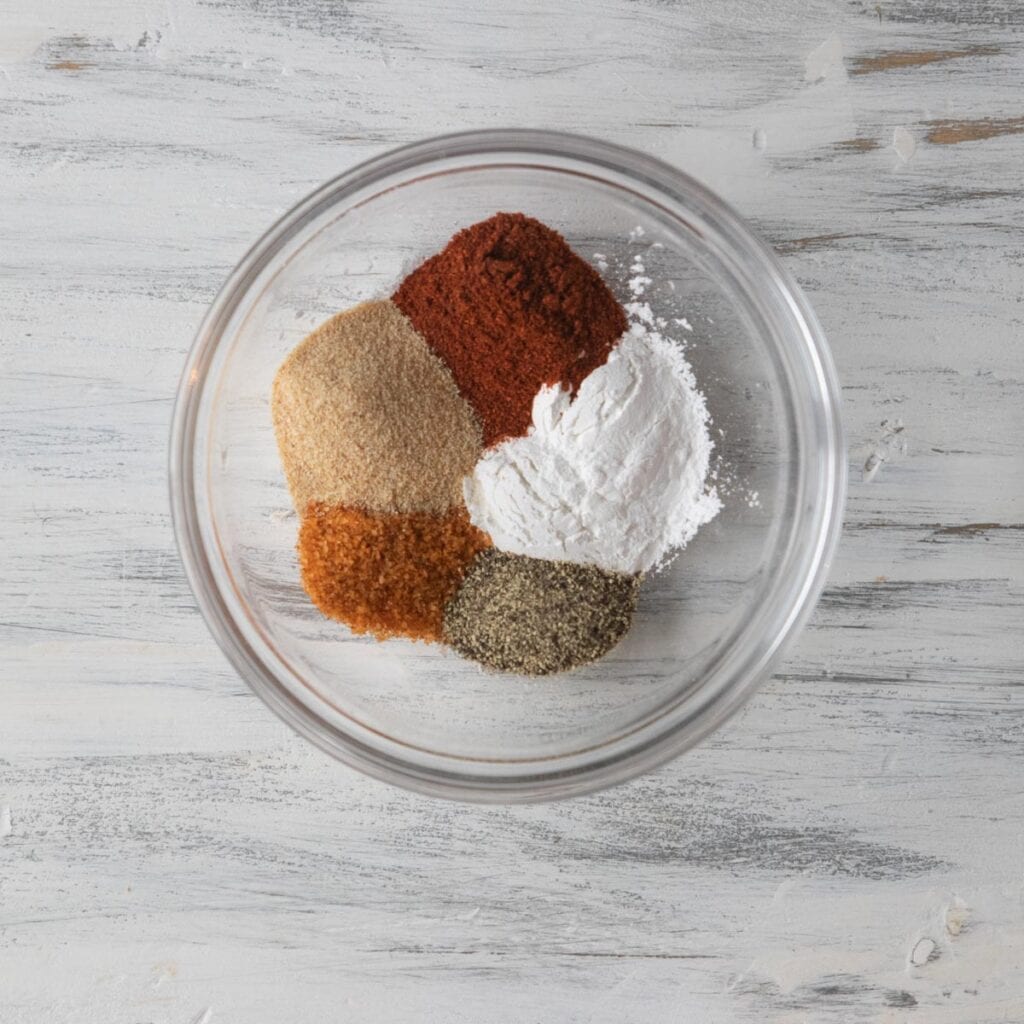
STEP ONE: Prep the seasoning and preheat the oven. Preheat the oven to 425°F. Blend the paprika, garlic powder, seasoned salt, and pepper in a bowl.
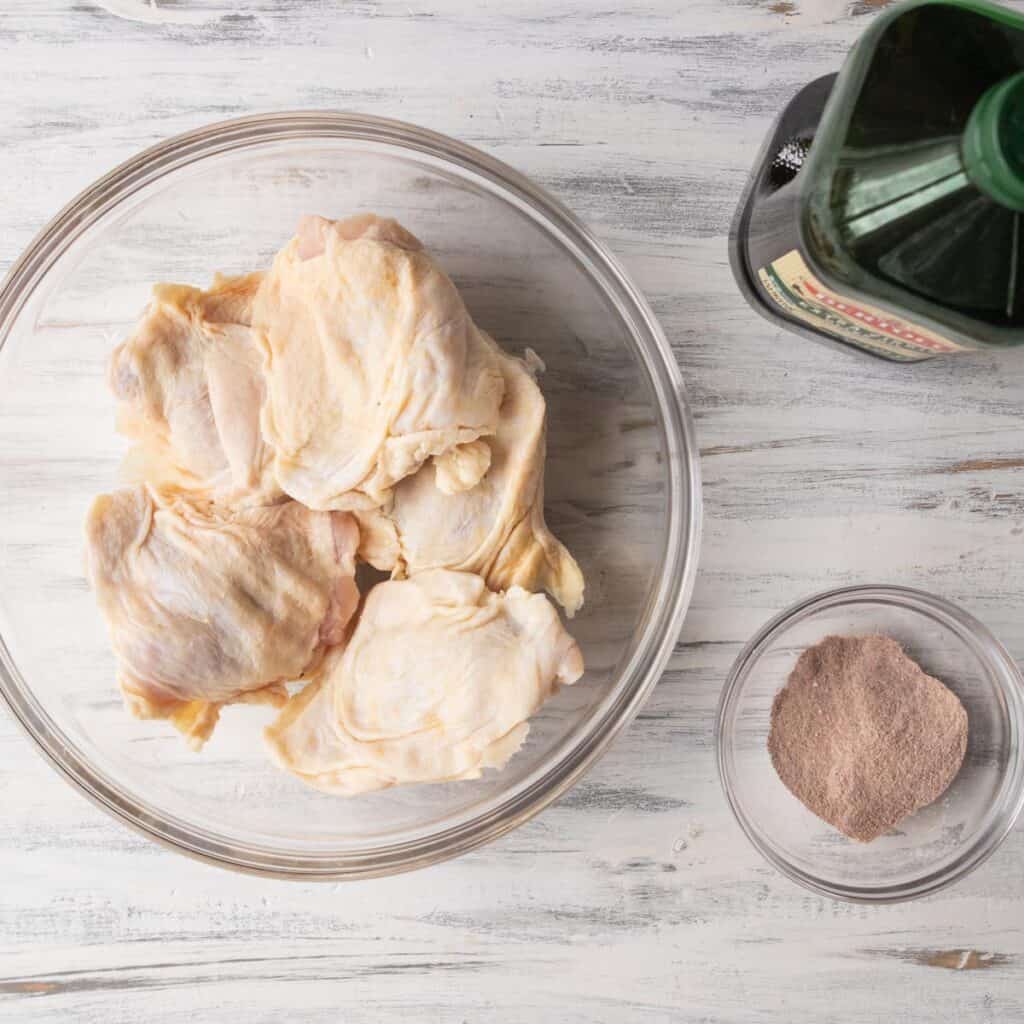
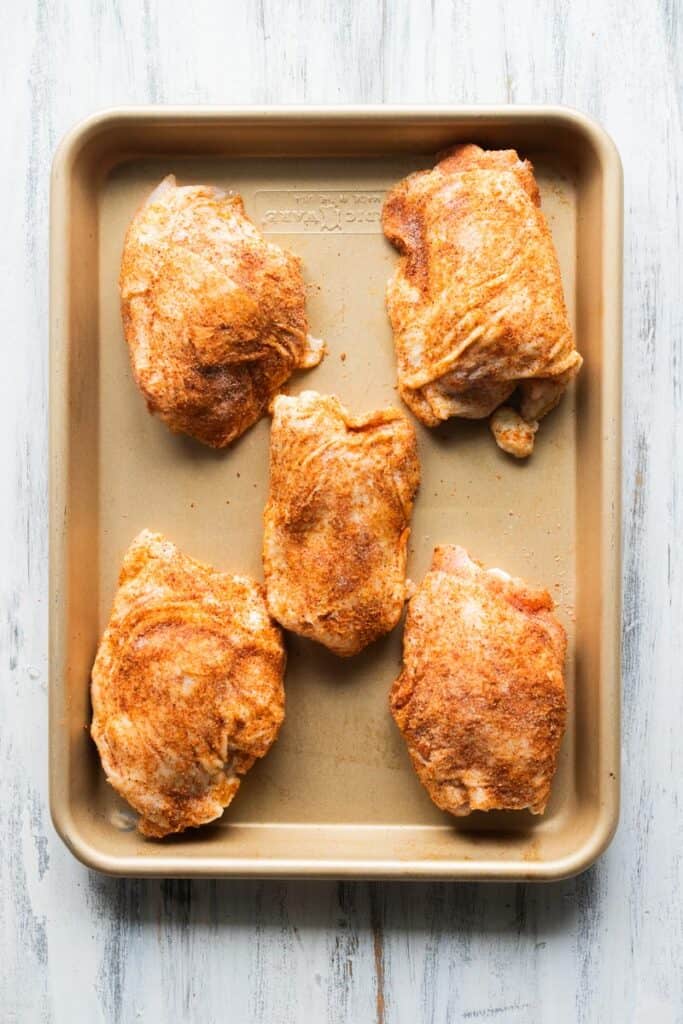
STEP TWO: Prep the chicken thighs. Pat the chicken thighs dry with a paper towel, then place them into a large bowl. Add the olive oil and coat the chicken with clean hands. Sprinkle the seasoning mixutre over the chicken, and use your hands to make sure every chicken thigh is fully coated. Then, place the chicken on the baking sheet, leaving some room between them.
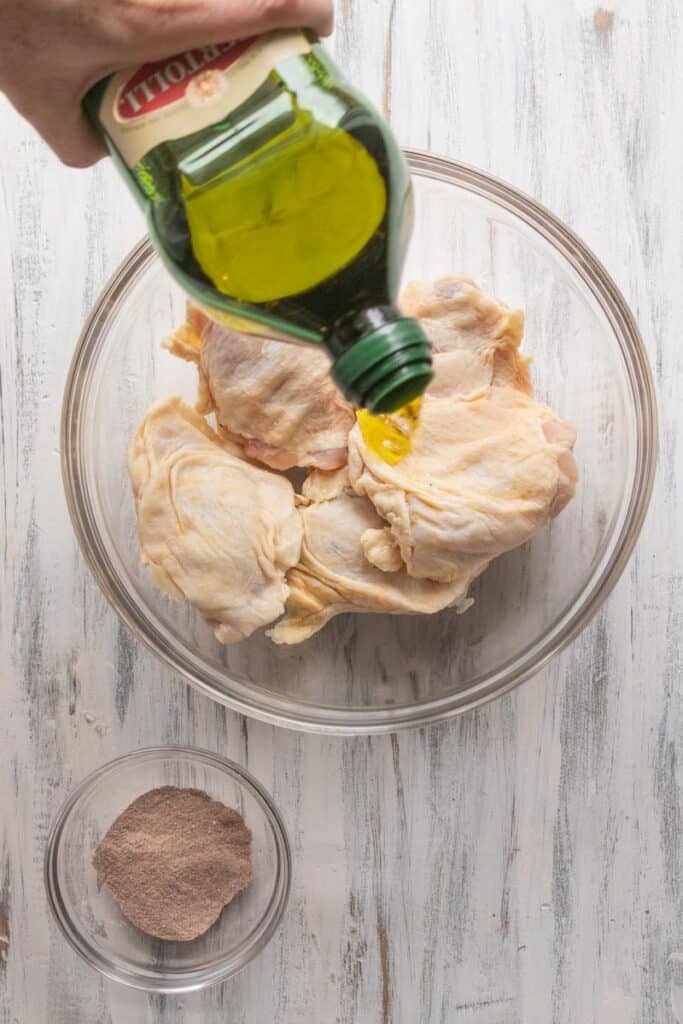
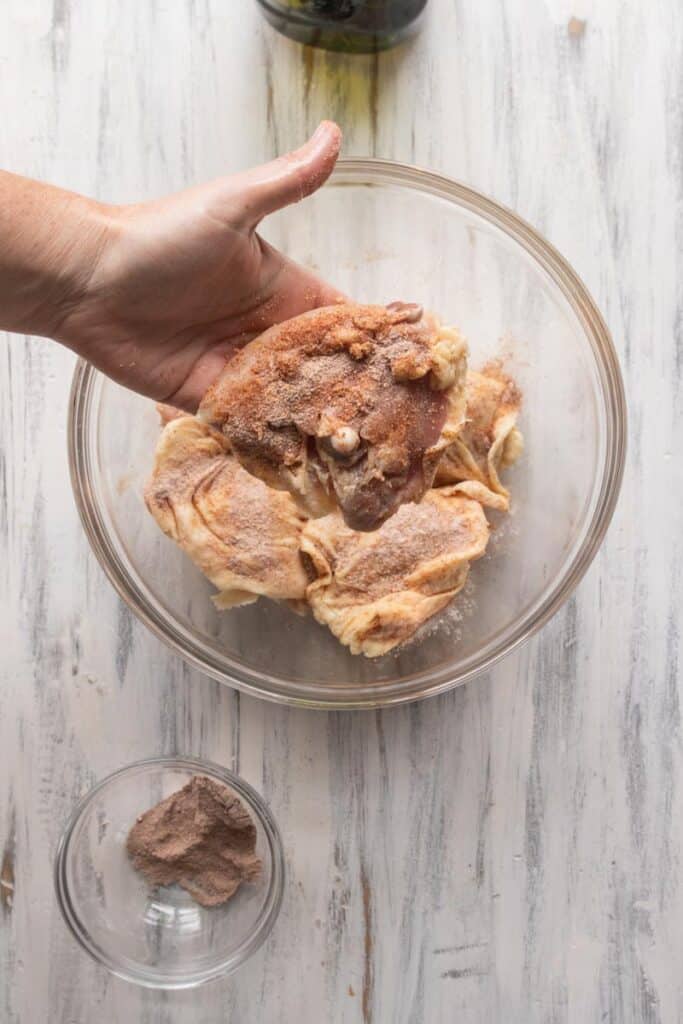
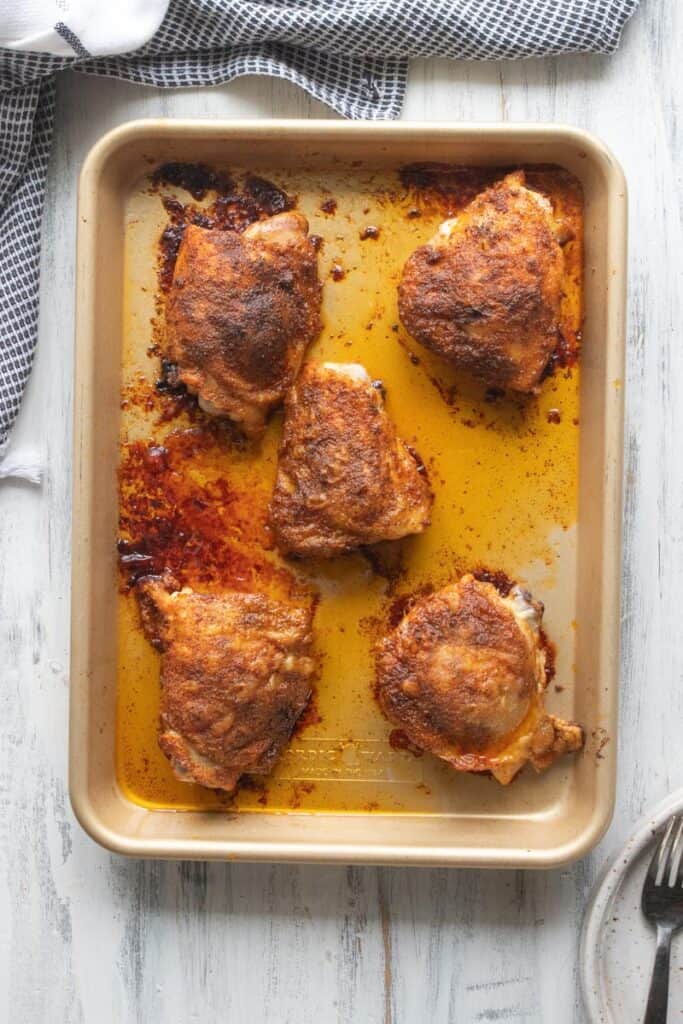
STEP THREE: Bake. Bake for 35-45 minutes or until the internal temperature hits 165°F. Use a meat thermometer in the thickest chicken thigh to be sure.
Tips and Recipe Notes
- Remove as much moisture from the chicken thighs as possible. This helps make sure they bake up crispy, so the coating doesn’t end up wet and soggy.
- Cover the chicken thighs really well in the seasoning and baking powder mixture. If you find you don’t have quite enough, make a 1/2 batch of the rub and add a bit more to the chicken.
- Use parchment paper on your baking tray (or nonstick aluminum foil) to make clean up a breeze and to keep your chicken from sticking.
Will this recipe work with other cuts of chicken?
Yes! This recipe will work with any ‘skin-on’ cut of chicken. You may have to make more seasoning mix depending on the size of your chicken pieces. Adjust your cooking time as necessary. Here’s a basic guide:
- Baked Chicken Legs – Bake at 425°F for 40-45 minutes
- Baked Chicken Thighs – Bake at 425°F for 35-45 minutes
- Bone-in, Skin-on Chicken Breast – Bake at 375°F for 35-45 minutes
- Boneless, Skin-on Chicken Breast – Bake at 400°F for 20-30 minutes
How do I know if my chicken is done?
You’ll know your chicken is done when the internal temperature reads 165°F. But what if you don’t have a meat thermometer? You can still check your meat for doneness.
After 45 minutes of cook time, open the oven and carefully pull the tray out. Flip the largest, thickest piece of chicken over so it’s skin-down on the baking tray. Use a butter knife and fork to split the chicken open near the bone. Juice should rise to the surface.
Here’s what to look for to be sure your chicken is cooked:
- The meat no longer looks pink or wet, and instead, looks fully cooked (you can see the fibers of the meat) and white.
- The juice that rises is clear with no red or pink.
- No blood or bloody juice is visible.
- The bone should easily loosen from the meat, and not still appear to be attached.
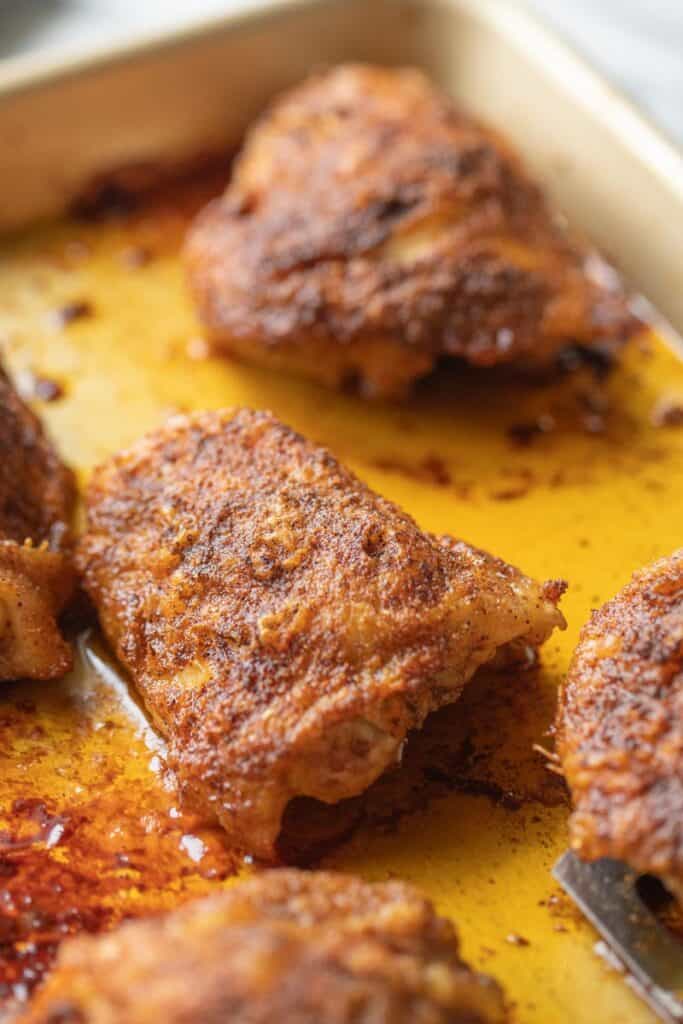
- The skin should be crispy and golden brown.

How to Store Leftovers
In the fridge: Store any leftovers in an airtight container in the fridge for up to 3-4 days. Make sure they’re fully cooled before you refrigerate them.
In the freezer: Your leftovers should freeze well. Place them in a freezer-safe container for up to 2-3 months. For some extra protection, you can wrap each piece in plastic wrap or foil first. Thaw overnight in the fridge before you reheat them.

How to reheat chicken thighs?
To reheat your baked chicken thighs, place them on a baking sheet and warm them in a preheated oven at 350°F for about 15-20 minutes or until heated through.
Can I make this ahead of time?
This chicken will taste best when baked fresh (although the leftovers will still be good!), but you can prep them ahead of time. Go ahead and mix your spices and baking soda, and coat your chicken as directed. Store them in the mixing bowl covered for up to 24 hours before baking.
Can I make this recipe gluten-free?
This recipe is already gluten-free, but you should always make sure your ingredients don’t have any hidden sources of gluten in them.

Crispy Baked Chicken Thighs Recipe
Ingredients
- 4-6 bone in chicken thighs
- 2 teaspoons baking powder
- 1 tablespoon olive oil
- 1 teaspoon paprika
- 1 teaspoon garlic powder
- 1 teaspoon seasoned salt
- 1/2 teaspoon pepper
Instructions
- Prep the seasoning and preheat the oven. Preheat the oven to 425°F. Blend the paprika, garlic powder, seasoned salt, and pepper in a bowl.
- Prep the chicken thighs. Pat the chicken thighs dry with paper towel, then place them into a large bowl. Add the olive oil and using clean hands coat the chicken. Sprinkle with the seasoning mixture and use your hands to ensure the entire chicken thigh is coated. Place onto the baking sheet.
- Bake. Bake for 35-45 minutes or until the internal temperature hits 165°F.
Video
Notes
- Remove as much water from the chicken thighs as possible. This helps make sure they bake up crispy, so the coating doesn’t end up wet and soggy.
- Cover the chicken thighs really well in the seasoning and baking powder mixture. If you find you don’t have quite enough, make a 1/2 batch of the rub and add a bit more to the chicken.
- Use parchment paper on your baking tray (or nonstick aluminum foil) to make clean up a breeze and to keep your chicken from sticking.
